- Home
- >
- Residual stress measurement
Contour method for residual stress measurements
Error: Contact form not found.
The contour method is a measurement technique to create a mapping of residual stresses levels on the entire part section.
It allows to quickly compare the digital simulations.
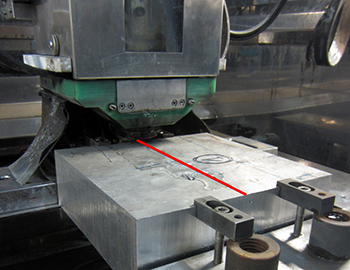
To characterise stresses over the entire section of a part, the latter is cut in half using an optimised wire cut electro-erosion process.
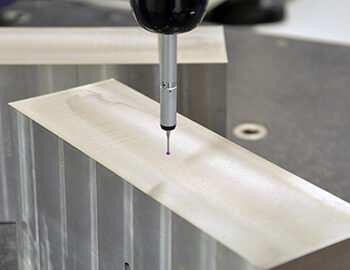
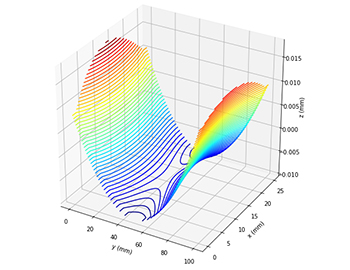
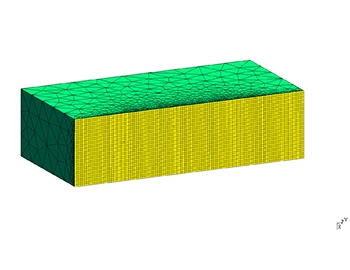
Under the effect of stress relief, the cutting surfaces do not remain flat. The surface deformations are measured using profilometry. This is then used to calculate the stresses on the whole section of the part via a finite element simulation inverse method.
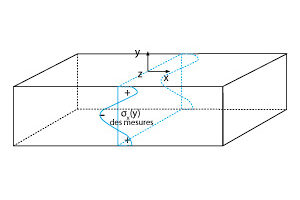
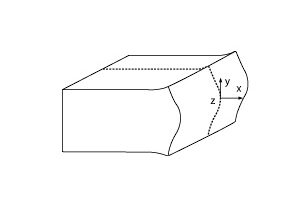
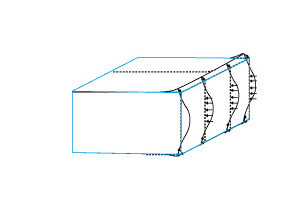
Maps the entire section of a part
Simplified comparison with digital simulations of forming processes
Measurement of large thicknesses
The SONATS laboratory has provided its expertise in all stages of the method thanks to a mastered protocol and fully automated calculations as well as a network of qualified partners.
1.Cutting
2.Profilometry
3.Interpolation
4.FE model data creation
5.Calculation
Software used

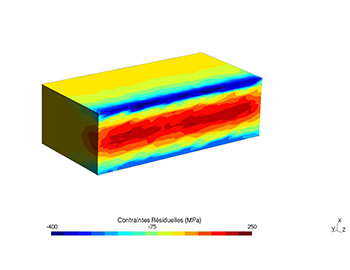
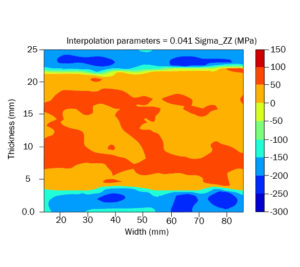
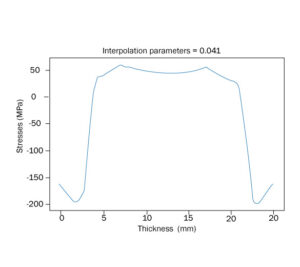
The contour method was applied to an aluminium plate peened on two opposite sides. The results are presented as a map of the residual stresses over the entire thickness of the plate, and allow a complete analysis of the stress field.
In this specific case we observe that:
Availability of all the measurement data allows to create an average stress profile over the entire thickness of the plate.
Would you like to know more about residual stress measurement and material characterization ? Download our dedicated brochures!
Heading “Residual stress measurement” on the download page
Access to all our download resources